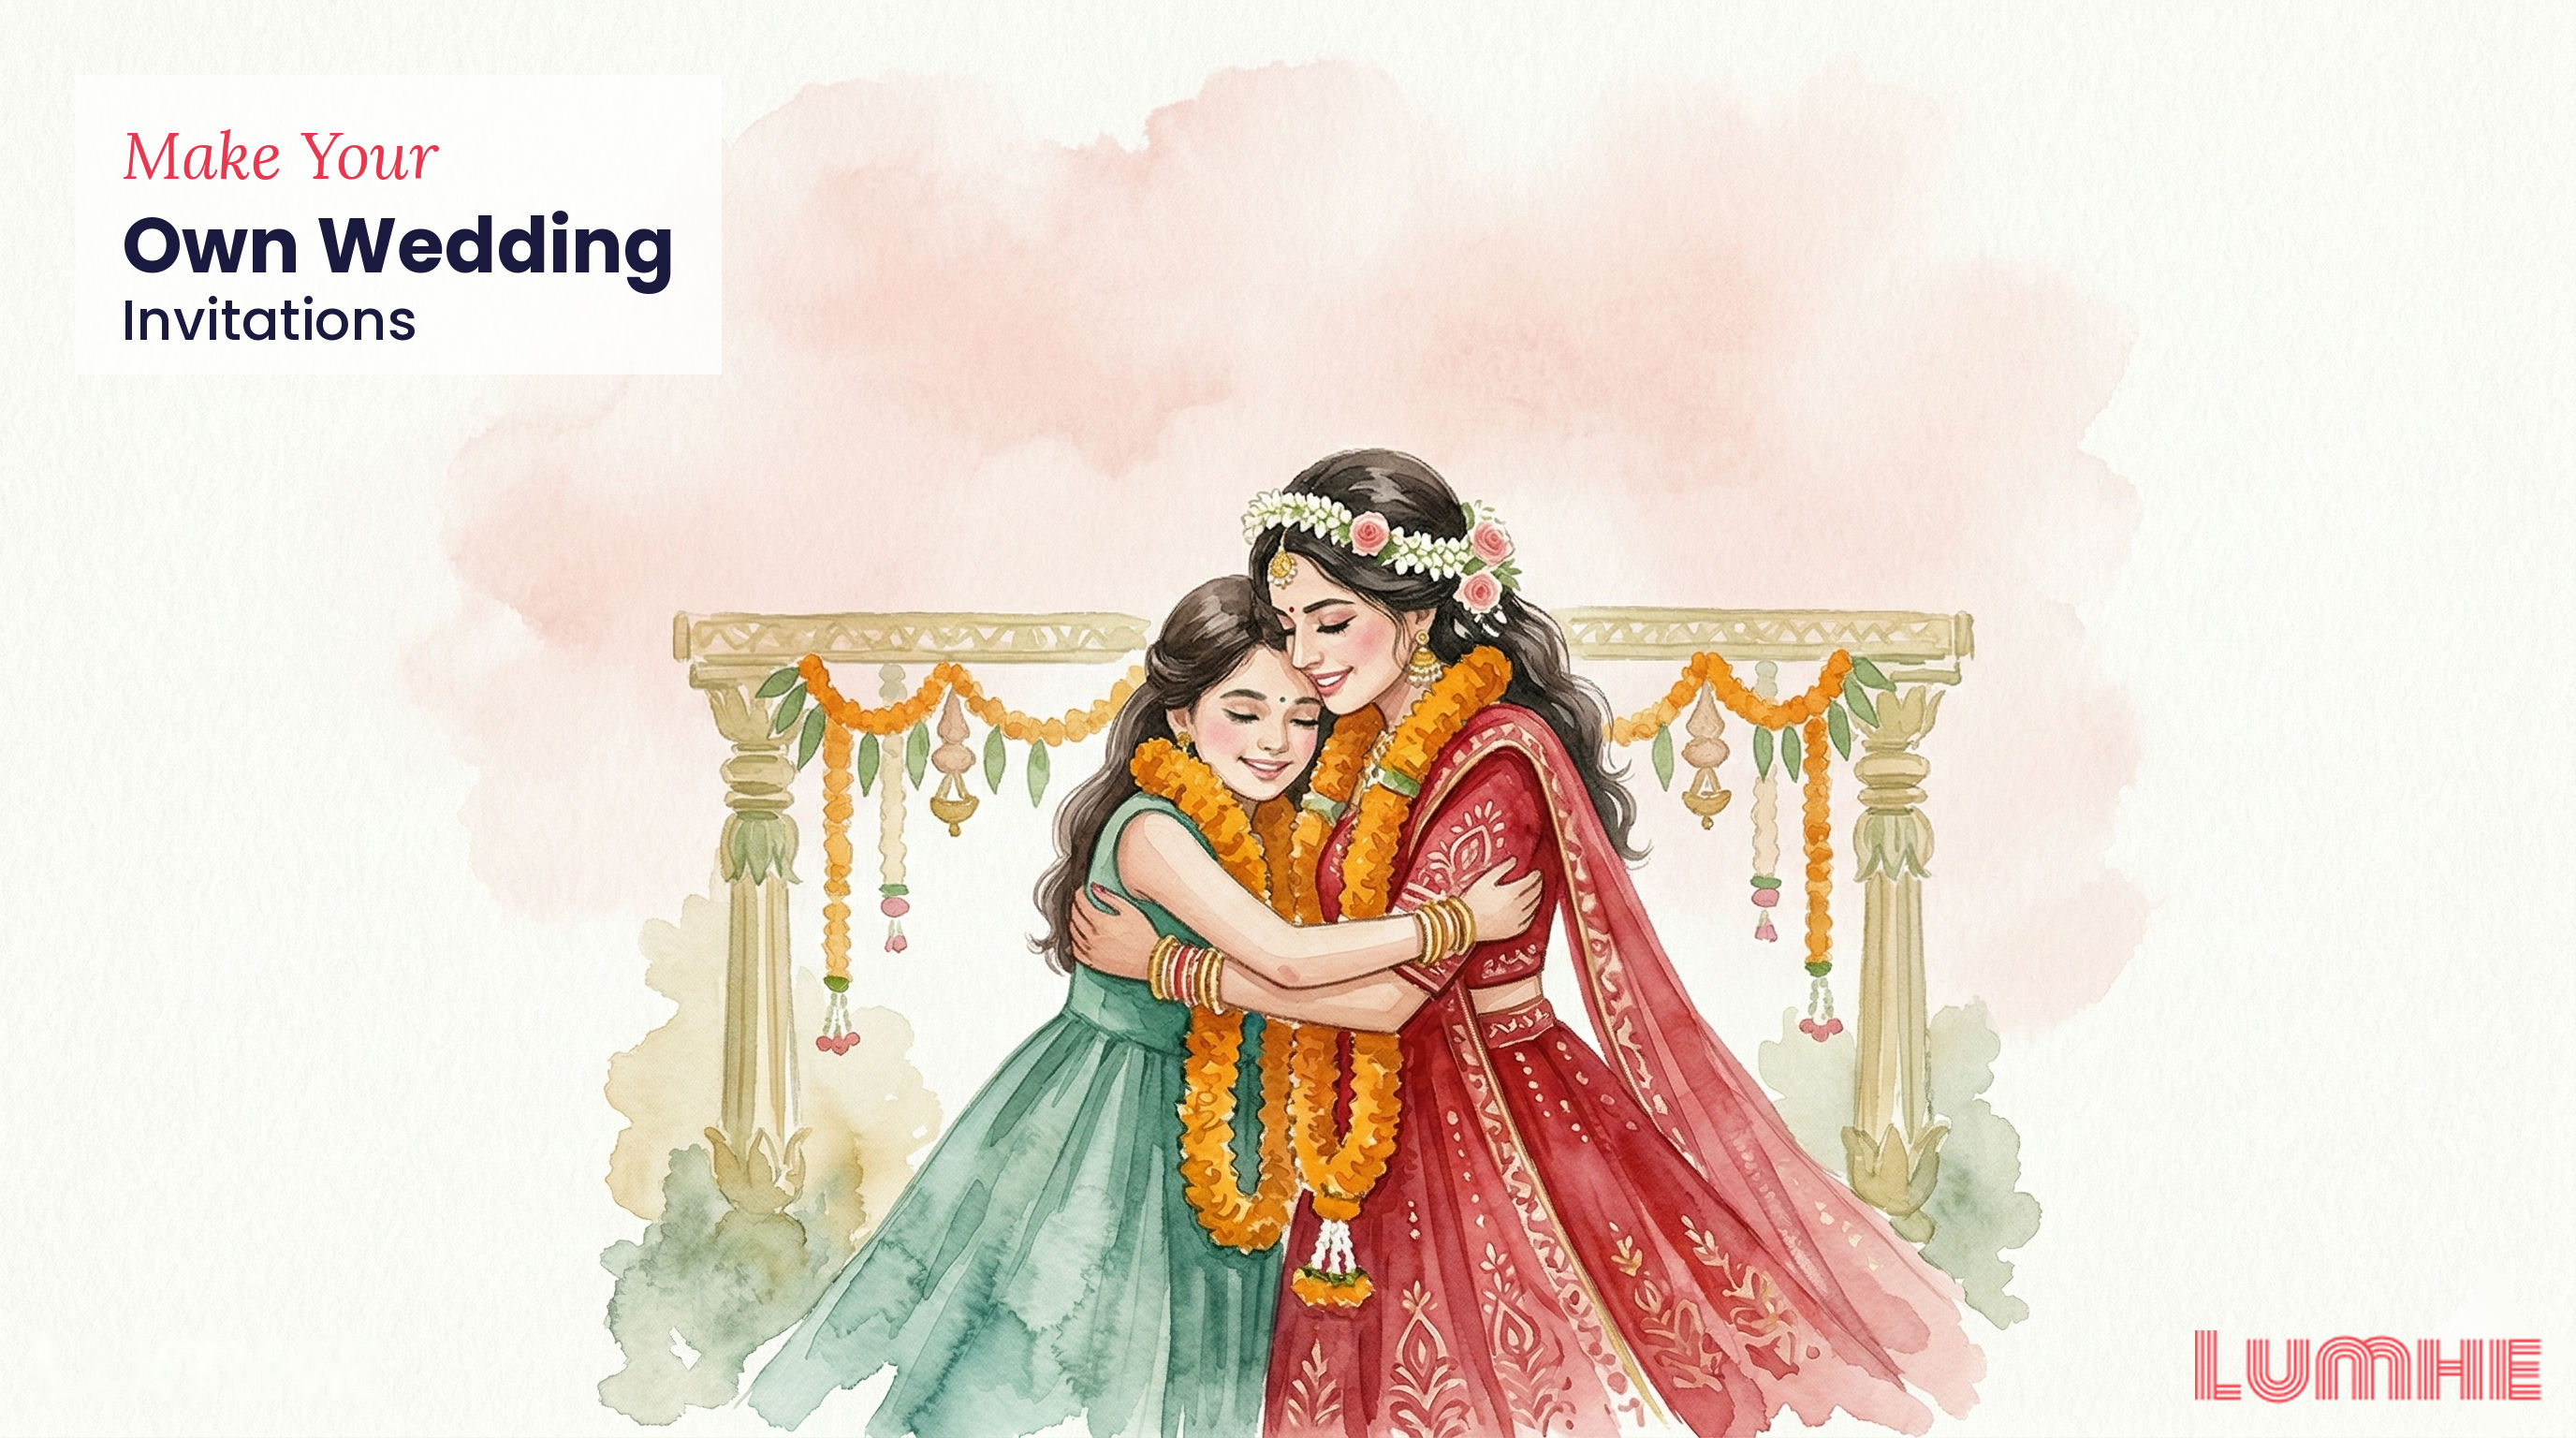
Complete Creative Freedom: No compromises on colours, fonts, layouts, or design elements. Your invitations can truly reflect your wedding's unique theme and personality.
For more inspiration, explore What To Put On Wedding Invitations.
Personal Touch: Handmade elements add warmth and character that guests will appreciate and remember.
Timeline Control: Avoid rush fees and delivery delays by creating and printing on your own schedule.
Customisation Options: Easily modify wording, dates, or details without paying for reprints.
Canva
Canva is the go-to platform for non-designers. With thousands of wedding invitation templates, you can create professional-looking invites in minutes.
Why choose Canva:
- Intuitive drag-and-drop interface
- Pre-designed wedding templates
- Extensive stock image and icon library
- Free version available; Canva Pro (£119.99/year) unlocks premium templates
- Easy resizing for different formats (A5, A6, or custom dimensions)
- Direct export to PDF or image formats
Canva workflow: Select a template → customise text and colours → add photos or design elements → download as PDF (recommended for printing).
Adobe Creative Suite
For more advanced design work, Adobe InDesign or Photoshop offers professional-grade tools.
Benefits of Adobe:
- Precise control over typography and spacing
- Advanced colour management for print
- Professional template options through Creative Cloud
- Subscription: from £19.99/month
Best for: Couples with design experience or those wanting publication-quality results.
Microsoft Word and Publisher
Microsoft Publisher includes purpose-built wedding invitation templates with minimal learning curve.
Advantages:
- Included free with Microsoft 365 subscriptions
- Publisher templates are professionally designed
- Compatible with standard home printers
- Good for simple, elegant designs
Best for: Straightforward designs and quick turnarounds.
Affinity Designer
A one-time purchase alternative (£69.99) offering professional design capabilities without subscription fees.
Affinity strengths:
- Professional typography and layout tools
- No monthly costs
- Excellent print preparation features
- Growing template library
Choosing the Right Paper and Printing Method
Paper Selection
Weight: Wedding invitation cardstock should be 250-300gsm minimum. Lighter paper (150-200gsm) appears inexpensive; heavier stock feels premium and durable.
Finish Options:
- Matte: Classic, sophisticated look; reduces glare
- Gloss: Vibrant colours; shows fingerprints
- Silk: Balance between matte and gloss; professional appearance
- Textured: Adds tactile dimension; traditionally elegant
Paper Types:
- Linen cardstock: Provides a subtle texture (popular choice)
- Pearl cardstock: Shimmer without overwhelming
- Recycled cardstock: Eco-conscious option
- Hammered cardstock: Premium texture for luxury weddings
Recommended suppliers in the UK:
- Paperchase
- Crafted by Leonie
- The Range
- Local print shops offering bulk discounts
Home Printing vs. Professional Printing
Home Printing Advantages:
- Immediate turnaround
- No minimum order quantities
- Easy revisions
Limitations:
- Inkjet printers may bleed on thick cardstock
- Laser printers are better suited for cardstock
- Large runs (200+) become expensive
Using Professional Print Services for DIY Designs:
Many UK printing companies now accept custom PDFs at reasonable rates:
- Minted: Upload custom designs; competitive per-unit pricing
- VistaPrint: Bulk printing of custom files
- Snapfish: Affordable cardstock printing
- Local print shops: Often offer better pricing on bespoke jobs than national chains
Cost-effective strategy: Print small quantities at home for inner circle; use professional services for bulk orders.
Step-by-Step Design Process
Standard UK invitation sizes:
- A6 (148 × 105mm): Classic, postcard-sized
- A5 folded (210 × 148mm when closed): Folded card format
- Square (150 × 150mm): Trendy, modern option
- Custom: Consider your vision before paper selection
Remember: If printing at home, ensure your paper fits your printer's specifications.
Step 2: Plan Your Layout
Essential information hierarchy:
1. Your names (largest text)
2. Wedding date and time (prominent)
3. Location (venue details)
4. RSVP information (contact details and deadline)
5. Reception details (optional if dinner follows)
Design principle: Leave 1-2cm margins on all sides for professional appearance.
Step 3: Select Fonts
Readable pairs for invitations:
- Serif + sans-serif (elegant)
- Script for names + modern sans-serif for details (romantic)
- Single consistent font family in varying weights (contemporary)
Avoid:
- More than three different fonts (looks chaotic)
- Overly decorative fonts for body text (readability issues)
- Very small text (under 10pt is difficult to read)
Step 4: Incorporate Colours and Design Elements
Popular UK wedding colour schemes:
- Navy and gold (classic elegance)
- Blush pink and sage green (romantic countryside)
- Deep burgundy and cream (luxury feel)
- Mint and grey (modern minimalist)
Design elements to consider:
- Wedding monogram or initials
- Botanical illustrations (florals are timeless)
- Geometric patterns
- Family crest or coat of arms
- Watercolour backgrounds
- Subtle textures or line art
Step 5: Add Personal Photos
Including engagement photos or decorative images:
- Keep image quality high (300dpi for printing)
- Use photos sparingly (one key image is sufficient)
- Ensure text remains legible over images
- Consider black-and-white or sepia tones for sophistication
Step 6: Proof and Export
- Print a test copy on regular paper first
- Check text spelling and accuracy (especially critical for names and times)
- Verify colours appear as intended
- Export as PDF for colour consistency across devices
- Save original file for reprints or digital versions
Wedding Invitation Wording Examples
"Together with their parents, [Bride's name] and [Groom's name] request the honour of your presence at their wedding. Saturday, the fifth of September, at two o'clock in the afternoon, [Venue name], [Location]."
Modern Casual
"We're getting married! Join us for a celebration of love, laughter, and new beginnings. [Date, Time]. [Venue and address]. RSVP to [contact details] by [date]."
Vintage Inspired
"Love is in the air. Join us as [Bride's name] and [Groom's name] become husband and wife. [Date] at [Time]. [Venue name], [Address]."
Intimate Garden Wedding
"Two hearts, one love story. You're invited to witness the marriage of [Bride's name] and [Groom's name]. A garden celebration on [Date] at [Time]. [Venue details]."
Destination or Unconventional Venue
"Adventure awaits! [Bride's name] and [Groom's name] invite you to their wedding celebration. [Date and Time]. [Creative venue description with address]. Optional: Accommodation suggestions included on insert card."
Second Marriage or Blended Family
"[Bride's name] and [Groom's name], together with [children's names], request your presence at their wedding. [Date], [Time], [Venue]. A celebration of love, family, and new beginnings."
Elopement Announcement (Post-wedding)
"In love and in secret, [Names] have married. Join us for an intimate celebration and reception. [Date, Time, Venue]."
Black-tie Wedding
"The honour of your presence is requested at the marriage of [Full names]. [Formal date and time]. [Venue name]. Dress code: Black tie."
Small Intimate Gathering
"We've decided to keep it small and intimate. We'd love to celebrate with you. [Date], [Time], [Venue]. Spaces are limited; RSVP by [date]."
Cultural or Religious Celebration
"In celebration of love and tradition, [Bride's name] and [Groom's name] invite you to their wedding. [Date], [Time], [Venue]. This celebration honours [cultural/religious tradition]."
Surprise Wedding
"Surprise! [Bride's name] and [Groom's name] are getting married! Join us for an unexpected celebration. [Date, Time, Venue]. Tell no one! RSVP to [contact] by [date]."
Casual Fun Tone
"Let's get married! Two people in love invite you to share the joy. [Date], [Time], [Venue]. Come for the ceremony, stay for the party. RSVP: [contact details]."
Unique and Custom Design Ideas
Layered Card Invitations
Create multi-layered invites using cardstock in complementary colours. Layer different sized cards to add dimension and sophistication. This technique is particularly striking with matte and pearl finishes combined.
Hand-calligraphy Elements
Incorporate hand-written or calligraphy-style names at the top. Combine with printed details for a semi-handmade feel that's both personal and polished.
Vellum Overlays
Print main invitation details on white cardstock, then overlay with vellum (translucent paper). This classic technique adds elegance and can frame the core information beautifully.
Watercolour Backgrounds
Create custom watercolour designs (hand-painted or digital) and photograph or scan them as backgrounds. Pair with clean, modern typography for balance.
Die-cut Shapes
If you're confident with scissors or have access to a craft cutting machine, create custom shapes—floral silhouettes, geometric forms, or designs matching your wedding theme.
Belly Bands and Wax Seals
Print the core invitation on standard cardstock, then add decorative belly bands (wrapped strips) tied with ribbon. Finish with a wax seal for luxury appeal. Many wedding supply shops sell pre-made belly bands and seal kits.
Double-sided Invitations
Use both sides of cardstock: front for main invitation, back for reception details, accommodation information, or a personal message.
Plantable Seed Paper Invitations
Use seed-embedded paper (available from eco-friendly suppliers) that guests can plant after the event. Perfect for spring or garden-themed weddings. Print on the plain side using a laser printer.
Printing and Assembly Tips
Home Printing Best Practices
1. Printer selection: Laser printers handle cardstock far better than inkjet for thick materials
2. Test prints: Always print one copy on regular paper first to check alignment
3. Cardstock feeding: Some printers require manual feed for cardstock; check your machine's specifications
4. Ink settings: Adjust printer settings to "cardstock" or "thick paper" mode
5. Drying time: Allow printed invitations to dry fully before stacking (5-10 minutes)
6. Storage: Keep printed cards flat in a cool, dry place to prevent warping
Assembly Line Method
For efficiency when assembling 50+ invitations:
1. Gather all components: Invitation, insert cards, envelopes, embellishments
2. Create assembly stations: One person for each task (inserting inserts, adding belly bands, placing in envelopes, sealing)
3. Quality check: Final station reviews each invitation before sealing
4. Batch timing: Aim to complete 50-100 per hour with 2-3 people
Envelope Considerations
- Size: Match envelope to invitation dimensions with 5mm clearance
- Quality: Invest in decent-quality envelopes (tissue-lined options are premium)
- Liners: Decorative envelope liners add luxury without major cost
- Addressing: Hand-addressing adds personal touch; calligraphy services available from local stationery shops
- Postage: Check exact weight and postage requirements with Royal Mail (invitation + enclosures typically require first-class stamps)
Sealing and Finishing
- Adhesive: Use quality glue stick or double-sided tape for envelope flaps
- Stickers: Custom wax seals or stickers with initials or designs
- Belly bands: Ribbon wraps hold inserts securely and add visual appeal
- Additional touches: Confetti in envelopes, ribbons, or small gifts
Cost Savings Breakdown: DIY vs. Professional
Professional Printing (200 invitations)
- Design consultation: £100-300
- Printing and cardstock: £200-800
- Envelopes (premium): £50-150
- Assembly: £100-300 (if outsourced)
- Total: £450-1,550 (£2.25-7.75 per invitation)
DIY Approach (200 invitations)
- Design software: £0-120 (Canva Pro annual or one-time Affinity purchase)
- Cardstock and envelopes: £40-80
- Home printing costs (ink): £20-40
- Embellishments (optional): £20-60
- Total: £80-300 (£0.40-1.50 per invitation)
Savings: £150-1,250 per 200 invitations
For smaller weddings (75-100 guests), the savings are proportionally higher because fixed costs (software, ink) don't increase significantly.
UK Printing Services for Custom DIY Designs
When you decide to outsource printing but keep designs DIY:
Budget-Friendly Options
- Snapfish: Per-unit pricing from £0.30-0.80 on cardstock
- Photobox: Personalised card printing; competitive bulk rates
- Zazzle: Customisable templates or upload your own design
Mid-Range Quality
- Minted: Designer-vetted platform; allows custom uploads; £1-3 per invitation
- Etsy Print Partners: Connect with independent UK printers offering custom services
- VistaPrint: Quick turnarounds; bulk discounts for high quantities
Premium Options
- Letterpress UK: Traditional letterpress for luxury feel; higher cost but distinctive finish
- Foil & Leaf: Foiling and specialty finishes on custom designs
- Local independent printers: Often offer the best value for bespoke work; request quotes for custom PDF uploads
Top tip: Get quotes from 3-4 suppliers. Many offer first-time customer discounts (10-20%), and bulk orders (300+) often qualify for additional savings.
Complete Checklist for Your DIY Invitation Project
- [ ] Decide invitation size and format
- [ ] Create guest list and confirm count
- [ ] Select design software (Canva, Adobe, Microsoft, or Affinity)
- [ ] Choose cardstock weight, finish, and colour
- [ ] Source envelopes (check they match invitation size)
- [ ] Design initial layout and gather any images (high resolution)
- [ ] Choose fonts and colour scheme
- [ ] Write and proofread invitation wording
- [ ] Print one test copy on regular paper
- [ ] Print test on cardstock and check finish and alignment
- [ ] Make any adjustments to design
- [ ] Print full quantity (at home or via professional service)
- [ ] Allow printed cards 24 hours to dry/set
- [ ] Gather assembly supplies (glue, inserts, embellishments)
- [ ] Assemble all components
- [ ] Hand-address or print addresses on envelopes
- [ ] Add any final touches (seals, stickers)
- [ ] Post with appropriate postage (check Royal Mail weight)
- [ ] Keep a backup digital copy for records
Final Thoughts
Making your own wedding invitations transforms a practical necessity into a creative opportunity. Whether you're a design novice using Canva templates or an experienced designer utilising Adobe tools, the process puts your personal stamp on the first impression your guests receive of your celebration.
The combination of cost savings, creative control, and the satisfaction of having created something beautiful makes DIY invitations an increasingly popular choice for UK couples. With the right tools, quality materials, and a bit of planning, your invitations will rival any professional creation.
Share Your Success and Connect with Guests on Lumhe
Related: learn about fall wedding invitations
Made your own invitations? Upload them to Lumhe in any format, find guests by name, phone, or email, and send digitally—or use Lumhe alongside printed invites for RSVP tracking. Share photos through Moments and let guests contribute through Digital Lifafa, our digital money gifting feature. Explore Lumhe here to streamline your guest management and create unforgettable pre-wedding memories with your loved ones.